So let's start now. First open Illustrator, Ellipse Draw a circle with a 400 × 400 size, the Fill and Stroke color green color is None. Draw a circle the size of 140 × 140 and its Fill and Stroke color white and blue, respectively. Stroke circle 0. The second of the day. Notice in the diagram below.

Select both circles, respectively, the Horizontal Align Center and Vertical align Center on the occasion of the second brttati will first circle, just like in the image below.

Using the Rectangle tool to draw a rectangle whose fill color of red, Stoke zero. As shown below.

Using the Pen tool and draw a rectangle on the image.

Draw the rectangle and select the rectangle with the Pathfinder Tool Joint Expand the day.

But beyond all the Alt key and select Create another copy, delete the first small circle.
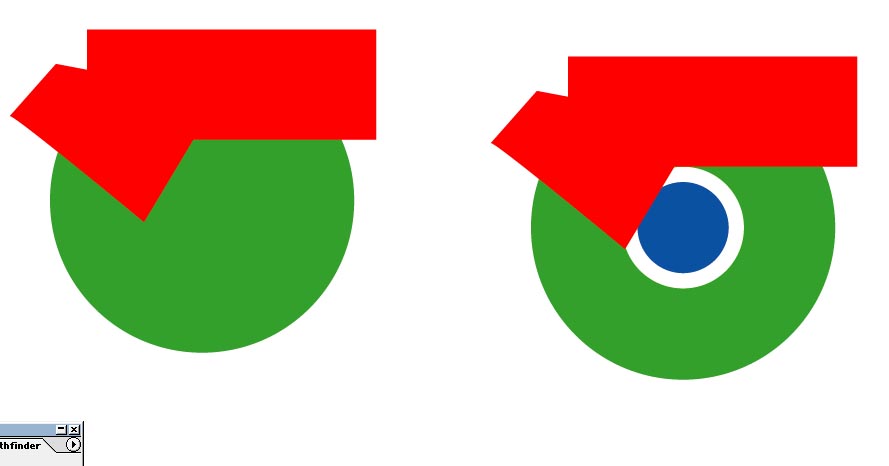
3 of the Pathfinder tool to select the image to Expand pruning. As will shape the image below.

Keep a copy of the one for the yellow and the hard of hearing. Then sort them one by one.

Check out the Google Chrome logo has been created.

No comments:
Post a Comment