What are the costs.
saphataoyara Illustrator CS 5 or on the
computer - a graphiksakada bhalamanera rich 4-8-16 GB remera PC
Idoba ilastrera tutorial in the world for you today got three or thridi design
bektara design, impeccable anasbikayya software as bisbasamadrta Adobe Illustrator saphati
the latest dishes, CC, even though a lot of the bugs are still there, but still popular rbasanagulora is the CS 5
is the effect of the menu lies in the 3-D option exists, the If the option to kayakarita draibara your computer must have a bhalamanera graphics, and is 8-16 GB of random access memory will be aramadhayaka to work.
Let's
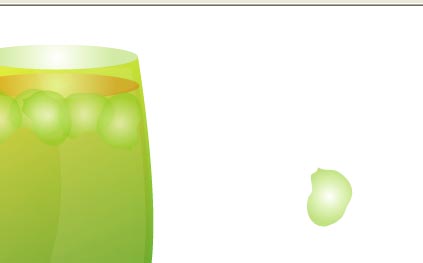
The final result image preview
Above on the Coca-Cola bottle dijainatii and we'll give it a label designed.
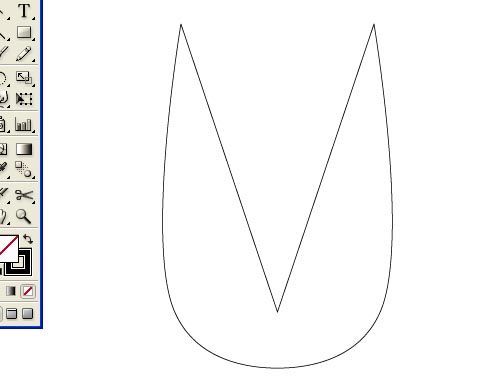
The first pride (1)
Or its equivalent in any of the above design as a vector-level design to remove or put the net down, bottom lines and vector-level design satantrabhabe group aladha the group object and select the menu or press ctrl + g.
Step Two (2)
undo the menu at the top corner from the Symbol pellet open the properties by clicking the icon in the icon view of the stars
one by one level and the lines ataoyakati Place drag and drop the symbol name plate label and lid.
Now you get to see your Symbol plates, designed duito added.
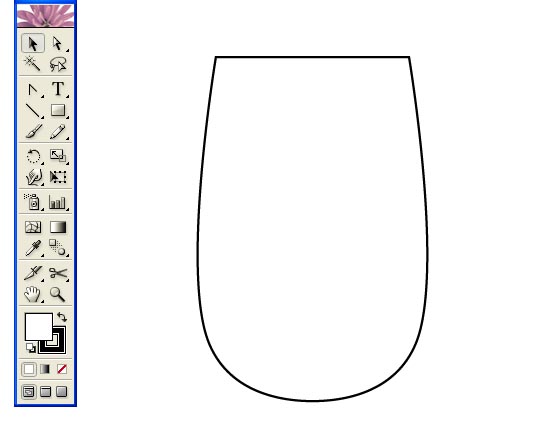
Step three (3)
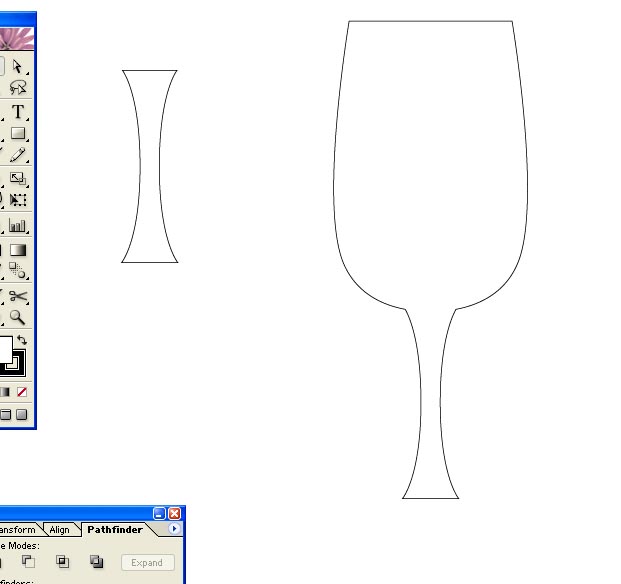
epraryaye you need to create images according to the size of a Coke bottle is made to remove the alignment should abasyei
Step Four (4)
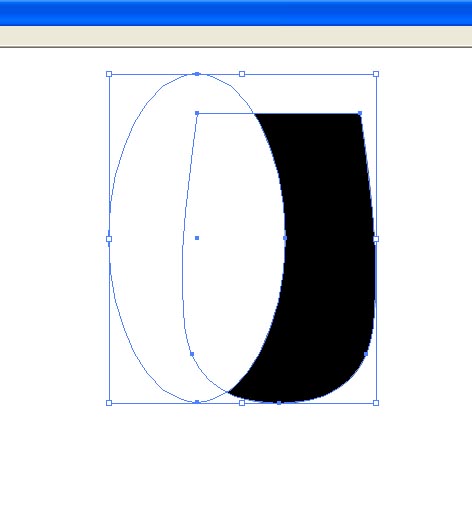
pathapaindara Plate undo all the selected images from the menu, choose the options in the eight lines are connected by a path you choose, but there is no problem if you do not have the option to expand. At the bottle you like Low image.
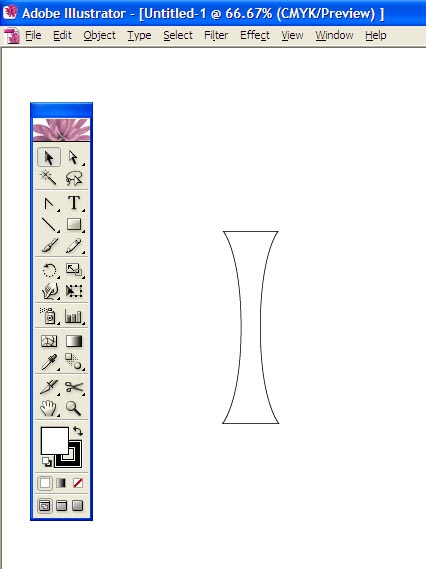
Step five (5)
in the middle of a vertical line on your batalera to the bottom and then anagrupa pathapaindara dibaideda option to separate.
Step six (6)
in the first stage dbape We will delete the rest of the bottle of the necessary parts
According to the horizontal lines of the image of the second dbape paindara nib and use your back to the path of the aproyojaniya anagrapa dibhaideda option will delete the part.
The asa choose according to her color images.
Step seven (7)
after the color of the line at this stage of our work we have abasatthaya anagrupha all together I'll grupha
Step eight (8)
eparyaye we have 3-D to work on Let's
ataoyarkati select the effects menu lies in the 3-D> Revolve option to select images according to the standards of the thikarekhe Only Left Edge to Right Edge choose if you want coke batalati will receive nimisei Must visit Check the preview option still remember him, do not be like this for the ninth dwapar. But of course, refrain from drinking Coke and stay healthy.


Step nine (9)
of this stage of the tasks are very gurutbapuna your attention the desired results phete, the 3D Revolve's right next to the map art, a menu Click on the above two options, see one name Symbol and name other Surface, Symbol menu we work the Symbol plates have to be able to see the Suface menu and our 3-D Beer in the ansagulo number to become rich is available whenever you erogulo click the preview option and if you can see the number of located between the sects in some locations Bottle occasionally come to light in grid form well if you can not, you know, try to understand laksakare bhalakare times.Surface area of the bottle label in the navigation view now has the number 13 on my Make no mistake, if the number does not matter if you'll get another number to verify if the Symbol inside the Level Select option and will receive an option to own the Scale to Fit Click on the bottle to suit your design lebhera Auto ratio will be set up in.
Take a look at the Bottle cipira four side there is much number of the design of the Symbol name of the Lid have not selected until the 3D Revolve's work by setting ninabasa Come out to him now. Sure Yours is an excellent 3-D pheye Coca-Cola bottle was designed. Does not try again. Illustrator has a way to work in 3-D Ok Mex. We are so happy with the three-dimensional ilastrera many things in the future will have the ability to walk.


Step ten (10)
since it required a plastic bottle so it is sbacca. There's transparent, so that the bottle is used to tossing and turning.
We know that this means that there is a bottle of pamchata pachata whatever path you'll see the layer expands the plate Lear.Silekasana that will be used to direct the path of my now two bottle of white ransa antagata Transparent Plate and press menu, then there is no undo. Hence, there was opacity in the 35-40 selected in transparent bottles.
The final thing that you took in the view. As shown below
 s Polygon tool from the Tools menu and select.